PVC fencing is a perfect choice for homeowners who are looking for a low-maintenance and long-lasting fence for their home. In this case, following the proper guidelines makes the installation of a PVC fence a simple task.
This guide will lead you through the installation process of PVC fencing step-by-step, no matter whether you want to work with a professional or do it yourself.

Tools Needed for PVC Fence Installation
Make sure you have all the necessary tools before beginning to build your PVC fence. Here is a list of the necessary tools you will need:
Measuring Tape – To measure distances and ensure accuracy when installing posts and panels.
Post Hole Digger or Auger – For digging holes to set the fence posts into the ground.
Level – For the proper positioning of the panels and posts.
Shovel – To make sure the fence is sturdy and to move dirt around the post.
Hammer or Mallet – To secure the posts or panels in place.
PVC Cement or Adhesive – If essential fuse the PVC components together.
Saw – To trim the PVC posts or panels to the proper length.
Power Drill with Screws – If required fasten the panels and posts together.
Safety Gear – For your protection, use protective shoes, safety glasses, and gloves.
Preparation for Installation Process
Preparation is the most important thing when installing PVC fences. Here’s what you need to be prepared before starting:
Check Local Regulations
Make sure you follow any zoning regulations, property borders, or HOA rules before you start by consulting your local authorities. Check the area before you start since certain areas could need permission for installing a fence.
Measure the Area
Use a measuring tape to measure the length of the area where you will install the fence. It’s also a good idea to mark the locations for the fence posts with stakes or chalk. Make sure to consider gates and ensure that the fence aligns with your property line.
Locate Underground Utilities
Before digging any holes, it’s important to contact your local utility company to mark any underground pipes or cables. This step will prevent damage to utilities and ensure a safe installation process.
Plan the Post Placement
Decide how far apart you want your fence posts to be. For a PVC fence, posts are typically spaced about 6 to 8 feet apart, but check the manufacturer’s instructions for your specific fence.
Professional Installation of PVC Fence
If you don’t have the time or tools for a DIY project, you might consider hiring a professional to install your PVC fence. Here’s what you can expect during the professional installation process:
Consultation
A professional installer will start with a consultation to discuss your specific needs, preferences, and budget. They will measure the area, check the property lines, and confirm the location of any utilities. They will also help you select the right PVC fence style and color.
Preparation
Experts will make sure they have everything they need before starting. Additionally, they will ensure that all required licenses are acquired.
Post Installation
Professionals will drill holes deep enough for the posts to ensure stability. The normal depth for PVC fence posts is between 2 and 3 feet, depending on the fence’s height and the local situation.
Panel Attachment
The expert installers will secure the PVC panels to the posts when they are firmly in place. Clips or brackets are often used to fix these panels, however glue may be needed for some types.
Final Checks
Professionals will verify their stability and alignment after the installation of the fence panels. They will make sure the fence is perfectly straight and level.
Cleanup
Most skilled installers will clean up after the installation. They will clean up your yard by removing any dirt, trash, or leftover items.
Tips on DIY Guide to Install a PVC Fence for Your Home
Here is a detailed guide to help you in installing the PVC fence if you want to do it yourself.
Mark the Fence Line
Mark the fence’s layout with string and posts. Ensure that the fence is straight and takes any gates into consideration. When digging post holes, this step will provide you with a clear roadmap to follow.
Dig the Post Holes
Dig holes for your posts with an auger or post-hole digger. According to the height of your fence and the local climate, the depth should be between two and three feet. Make sure the holes are deep enough to accommodate the post’s secure placement.
Set the Posts
Before inserting the PVC posts into the holes, make sure they are plumb. Fill up the holes with dirt or concrete to secure the posts. Additionally, gravel at the bottom of the pit may help with drainage.
Install the Panels
Start putting the PVC panels after the poles are in position and the concrete. The panels of the majority of PVC fences slide into slots in the posts. Use screws or clips to connect the panels if needed.
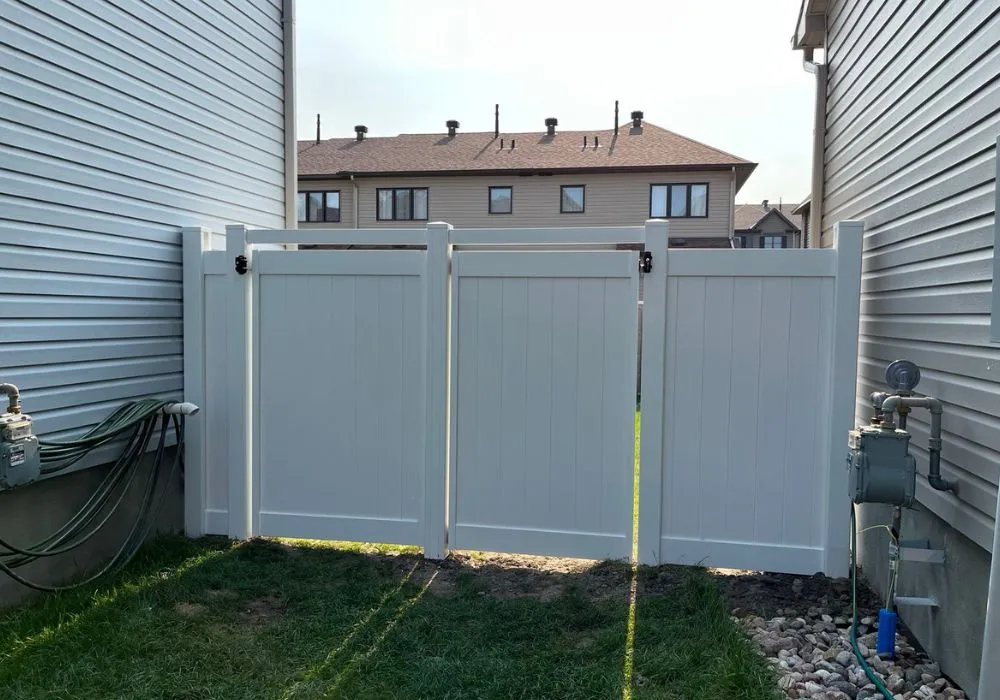
Achieving Privacy and Style with PVC Fencing
A PVC fence is a quick and simple solution to provide quiet and protection to your home while also making it look better. Following the installation process of PVC fencing will ensure a good installation, whether you decide to do the task yourself or hire an expert.