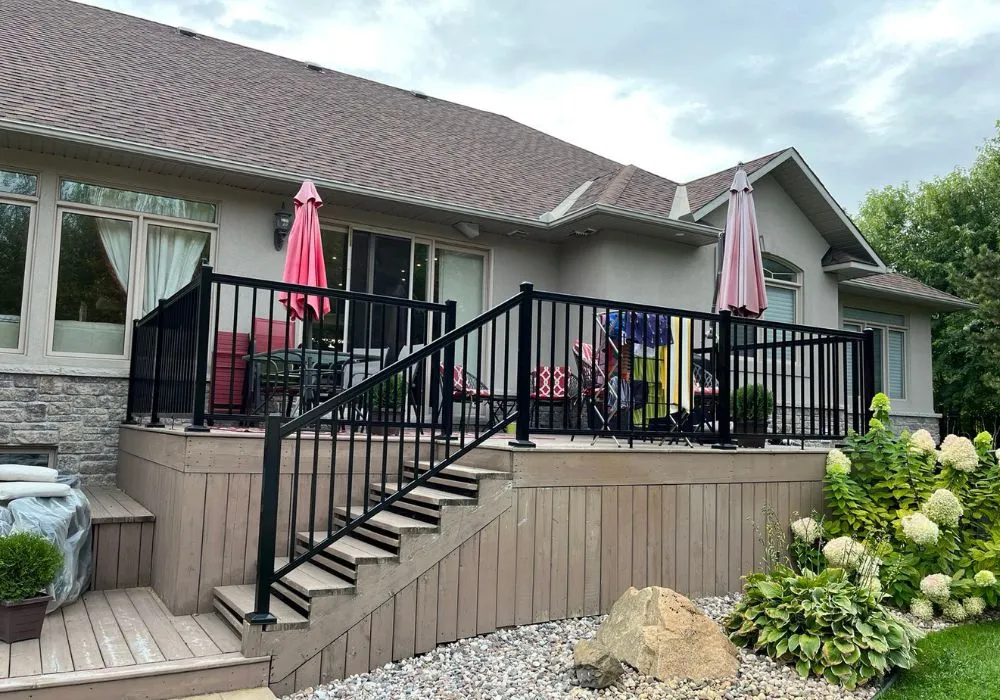

Adding a deck railing post is a good idea for security and safety. But if it’s done wrong, it might also get dangerous for you and your family. Basically, posts are the backbone of your railing; a little mistake can cause a lot of damage. That’s why here, we’ve tried to explain how to install a deck railing post to make things easier for you.
So, keep on reading and take notes!

Tools and Materials You’ll Need for the Job
Before installing a deck railing post, make sure that you have all of these tools and materials:
Tools
- Power drill
- Measuring tape
- Carpenter’s level
- Hammer
- Circular saw (if cutting wood posts)
- Wrench or socket set
- Shovel (for digging footings)
Materials
- Pressure-treated 4×4 wood posts or metal posts.
- Galvanized bolts or lag screws.
- Post anchors (metal brackets or base supports).
- Concrete mix (for in-ground posts).
- Joist blocking (for added support).
- Wood sealer (optional, but helpful for durability).
Know the Building Code Before You Start
Understanding the building code before installing railing posts on a deck can be a big help. In Canada, the National Building Code says you will need deck railings if the deck is higher than 24 inches (60 cm).
Here are the basic railing post rules:
- The top of the railing must be at least 36 inches (91 cm) from the deck surface.
- The spaces between the posts should be 6 feet apart, but not more than that.
- The railing must have the strength to handle a 200-lb horizontal force.
- If you are digging holes for posts, then it should go under the frost line. This will help you with the shifting in the winter. In most of Canada, this is at least 4 feet deep.
Method 1: Installing a Railing Post on a Wood Deck Frame Guide
How to install railing posts on a deck? Here’s a step-by-step instruction for you to understand the process:
Mark Your Post Locations
First, measure and mark the deck where each post will go. Make sure the spacing is even and doesn’t go over 6 feet between posts.
Add Blocking Inside the Deck Frame
Use extra pieces of wood (called blocking) between the joists. This will give the post something strong to attach to.
Position the Post
Then place the post on the rim joist and above the blocking. You can use a level to make sure that it is straight.
Drill and Bolt the Post
Drill two holes in the post, rim joist, and blocking. Then add the ½-inch galvanized carriage bolts. Afterwards, you should use a wrench to tighten them.
Seal the Base
To stop water damage, you can apply a waterproof sealer at the bottom of the post. You can also add a metal post base if needed.
Method 2: Installing a Post into Concrete or the Ground
If the deck railing post is directly into the soil and if it’s for a ground-level deck, then follow this guide:

How to Choose the Right Spot for Your Railing Post?
If you have a clear plan, then it will always help you in the process. Here’s how you can choose the right spot:
- The posts should be in the same line as joists or beams for better support.
- Don’t put posts too close to each other or too far.
- Check for issues like downspouts or deck furniture.
Tips to Make Your Deck Railing Last Longer
If you want your railing to last longer, then here is some advice for you:
- Try to use pressure-treated wood or rot-resistant materials like cedar.
- You should always use galvanized fasteners to stop rust.
- You can apply a wood sealer every year to keep moisture out.
- Check your posts every spring. You should tighten the bolts and look for rot or cracks.
- Don’t let soil or leaves build up around posts.
- You can always hire a professional for the job. Look for reliable experts like West Wholesale and let them handle everything.

Conclusion
So, how to install a deck railing post? If you follow the guide and steps we suggested, then it will be an easy job for you. And, if you feel like this is too much, then contact a professional so that they can help you. If you have any other questions, don’t hesitate to reach out to us!